
In today’s digital world, speed and reliability are everything. Whether it’s a website or an app, users expect things to run smoothly, no matter how many people are using it at the same time. If your app can’t handle a sudden spike in traffic or slows down when too many people are logged in, you risk losing users. That’s where performance testing comes in.
Performance testing ensures that your app or website can handle real-world traffic, high data volumes, and extended periods of use. It helps you spot bottlenecks, keeps everything running smoothly, and ensures users have a great experience—even when things get busy.
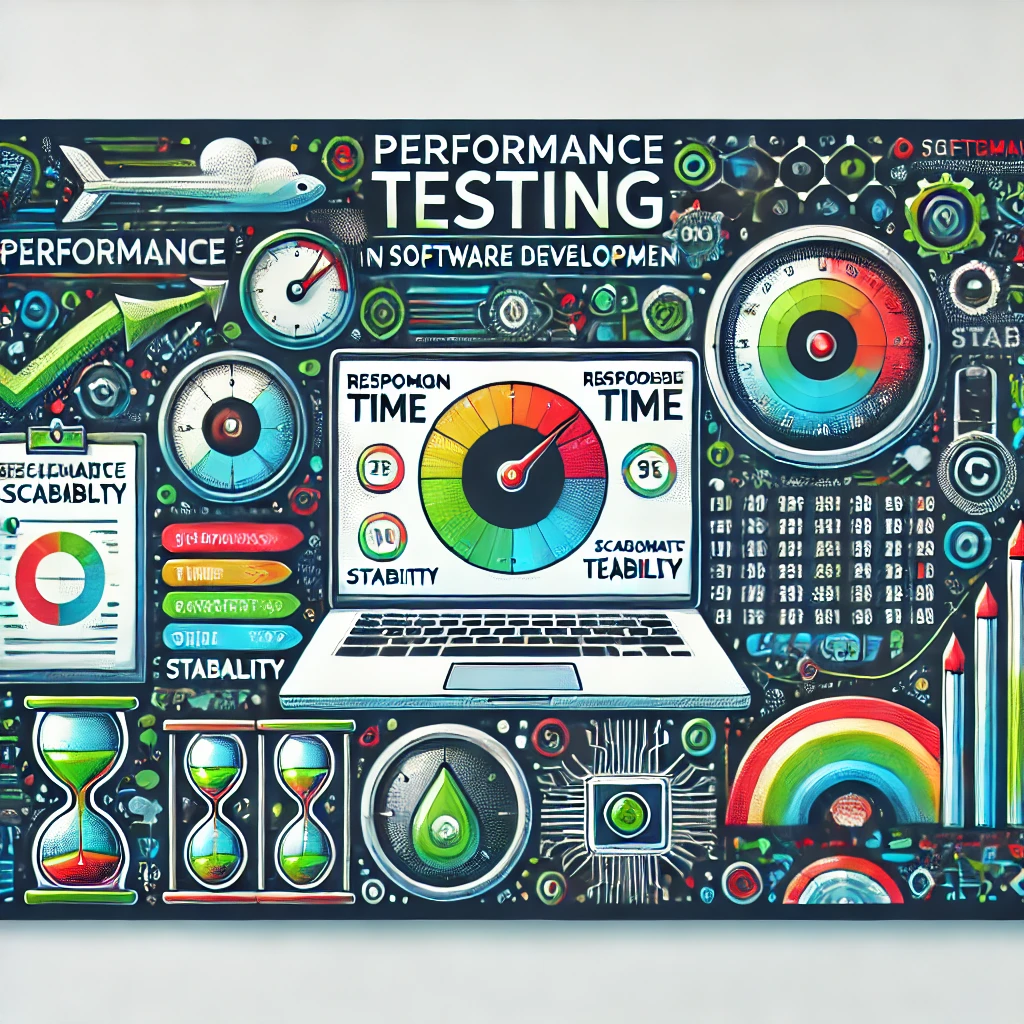
Let’s break down the performance testing process step by step so you can make sure your app is always ready to handle the pressure.
Step 1: Set Clear Goals for Performance Testing
Before diving in, it’s important to know exactly why you’re performance testing. What are you trying to achieve? Without clear goals, your testing might not give you the answers you need. Here are some common goals:
Check for Speed: How quickly does your app respond to user actions?
Ensure Scalability: Can your app handle more users as your business grows?
Verify Stability: Will your system stay up and running when user traffic spikes?
Find Performance Bottlenecks: What parts of your app are slowing everything down?
Having clear objectives will keep your performance testing focused and help you measure success.
Step 2: Understand the Metrics You’re Testing
Once you’ve set your goals, you need to figure out which performance metrics to focus on. These metrics will tell you how well your system is performing and give you a clear picture of its strengths and weaknesses.
Here are the key metrics to track.
Response Time: How quickly does the app respond to user actions?
Throughput: How many requests can the system handle at once?
Error Rate: What percentage of requests fail?
Resource Usage: How much CPU, memory, and network bandwidth does the system use?
Latency: How long does it take to start processing a request?
Concurrent Users: How many users can your system handle at the same time?
Focusing on these metrics will help you understand how your app performs under different loads.
Step 3: Create Realistic Test Scenarios
Next, it’s time to build test scenarios that mimic how real users interact with your system. These scenarios are the heart of performance testing, allowing you to simulate real-world behavior and see how your app handles it.
Here’s what to consider when creating your scenarios:
User Behavior: What actions do users typically take? For example, logging in, browsing, purchasing, or uploading.
Workload Distribution: How many users are performing each task, and how often?
Think Time: Add pauses between actions to reflect how real users behave.
Edge Cases: Don’t forget to test scenarios with extreme conditions, like many users logging in at once during a big event.
Realistic test scenarios help you understand how your app will perform under real-world conditions, ensuring that your testing isn’t just theoretical.
Step 4: Set Up a Test Environment that Mirrors Reality
Your test environment needs to be as close to your production environment as possible. If your test setup is significantly different from what your users will experience, your results may not be accurate.
Here’s how to set up a reliable test environment.
Match Hardware: Your test servers should have the same hardware setup as your production servers.
Same Software Stack: Use the same web servers, databases, and middleware as your production environment.
Simulate Network Conditions: Test under real-world network conditions, including bandwidth limitations and potential latency.
Test with Real Data: Your database should contain a realistic amount of data to reflect the load your system will face in production.
By creating a realistic test environment, you can trust the results and make better decisions based on your findings.
Step 5: Use Tools Like JMeter to Build and Run Your Tests
Now comes the fun part—building and running your performance tests using tools like Apache JMeter. JMeter is a powerful tool that lets you simulate thousands of users interacting with your system simultaneously and track performance metrics in real-time.
Here’s how to get started with JMeter.
Create a Test Plan: Outline all the user actions and scenarios you want to test.
Configure Thread Groups: Set the number of virtual users (threads) and the ramp-up time (how fast users are added).
Add Samplers: Define the actions users will perform, such as HTTP requests or database queries.
Include Assertions: Use assertions to make sure the system responds correctly.
Set Timers: Add delays between actions to simulate real-world user behavior.
With JMeter, you can simulate large-scale usage and stress-test your app to ensure it holds up under pressure.
Step 6: Run the Test and Monitor Performance
With your tests set up, it’s time to run the test and monitor how your system performs. Keep an eye on your metrics as the test runs, and watch how the system handles the load.
During the test, focus on
Performance Metrics: Are response times, throughput, and error rates within acceptable limits?
Resource Usage: Track CPU, memory, and network usage to see if the system is being overloaded.
System Failures: Look out for crashes, slowdowns, or failures as the load increases.
Running the test provides valuable data, giving you insights into how your system performs in real-world conditions.
Step 7: Analyze the Results
After the test is done, it’s time to dig into the data and analyze the results. This step is crucial for understanding whether your system met your performance goals or if improvements are needed.
Focus on the following
Response Times: Did the system respond quickly enough under load?
Bottlenecks: Were there any slowdowns or areas where the system struggled?
Error Rates: Were there significant failures or errors?
Resource Usage: Did the system use resources efficiently, or did it struggle under the load?
Analyzing the results helps you identify problem areas and plan for improvements.
Step 8: Optimize and Retest
Now that you have a clear understanding of how your system performed, it’s time to optimize it. This could mean tweaking server settings, optimizing database queries, or making adjustments to the app’s code to handle requests more efficiently.
Once you’ve made improvements, it’s essential to retest the system to ensure the changes worked. Performance testing is an iterative process, meaning you’ll test, fix, and test again until the app performs as expected.
Step 9: Report Findings and Continuous Improvement
Finally, you’ll need to report your findings. Share your insights with developers, stakeholders, or the broader team. A well-structured report should summarize the key metrics, highlight areas that need improvement, and provide actionable recommendations for next steps.
Make sure your report includes.
Summary of Results: A snapshot of how the system performed.
Key Recommendations: Suggestions for fixes or optimizations.
Next Steps: What actions should be taken to improve performance?
Remember, performance testing isn’t a one-time thing—it’s an ongoing process. As your app grows and changes, continue testing to make sure it delivers fast, smooth experiences for all users.
Conclusion
Performance testing is essential for ensuring that your app or website can handle the pressures of real-world use. By setting clear goals, creating realistic test scenarios, and using tools like JMeter, you can identify bottlenecks, optimize your system, and deliver a fast, reliable experience to users.
Regular performance testing helps you catch potential problems early and make continuous improvements. In a world where speed and stability are everything, performance testing isn’t just a nice-to-have—it’s a must.